How to install ValeVPN Proxy Extension for Chrome
Follow these simple steps to install your very own superhero sidekick for secure browsing:
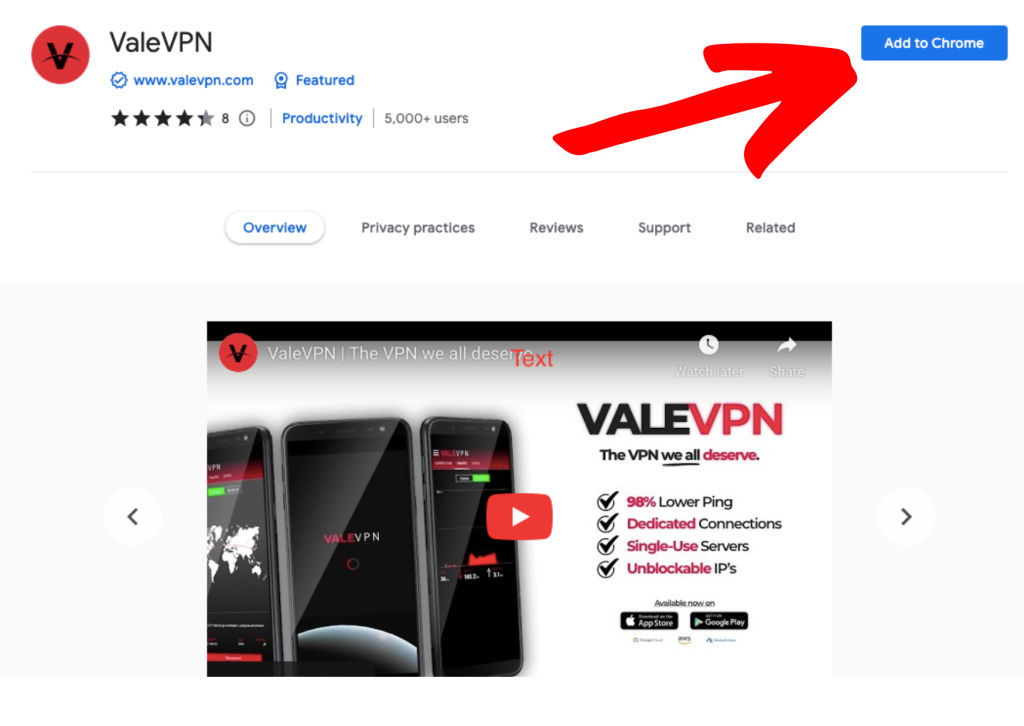
Step 1: Visit the official Chrome Web Store page for ValeVPN Proxy by clicking here: https://chrome.google.com/webstore/detail/pjdhjlgnlajoahglacnlepnklhfmomma/
Step 2: Add the ValeVPN Proxy extension to your Chrome Browser:
Click the “Add to Chrome” button – and a confirmation dialog will appear.
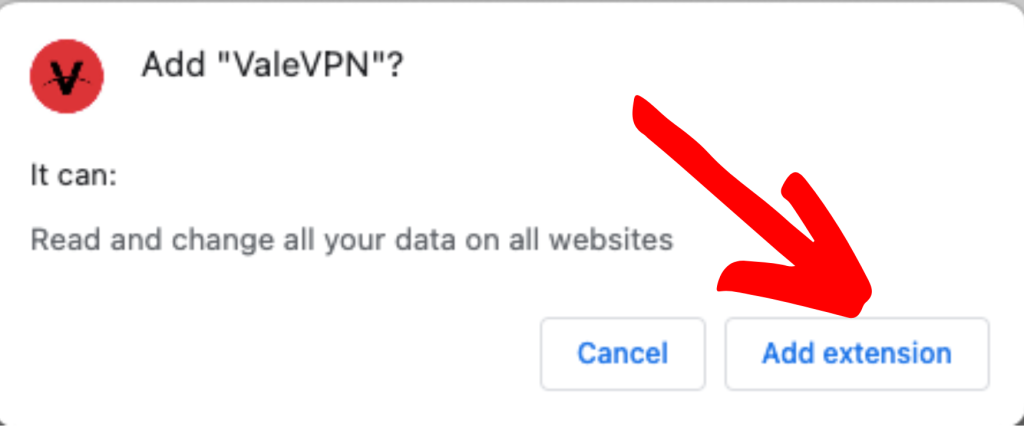
Step 3: Confirm Installation
You’ll see a popup – and you’ll have to click the “Add Extension” button to proceed with the installation. Chrome will then download and install the extension.
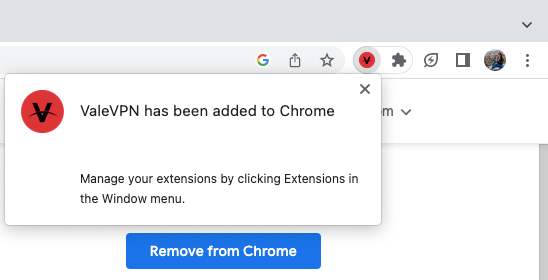
Step 4: Start using ValeVPN Proxy
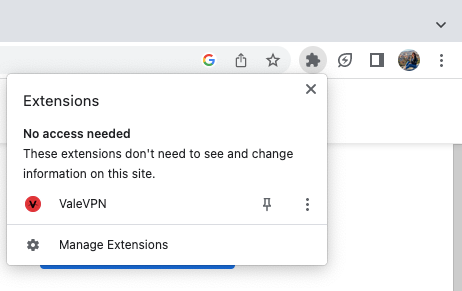
Once the installation is complete, you’ll notice the ValeVPN Proxy icon in the top right corner of your Chrome browser. You may need to click the little ‘puzzle piece’ icon to see it in your list of Extensions. Clicking on the ValeVPN Proxy logo will open the extension.
Remember, the ValeVPN Proxy for Chrome acts as a Proxy – sending your traffic through one of our freely available Proxy Servers worldwide you choose. This is great if you want some quick location change or protection.
Feel free to explore the internet, access geo-blocked content, and shop securely, knowing that your data is safe and sound.
So, what are you waiting for? Install the FREE ValeVPN Proxy for Chrome today and join the league of secure internet superheroes!
