How to install ValeVPN proxy extension for Chrome Follow these simple steps to install your very own superhero sidekick for secure browsing: Step 1: Open the Chrome Web Store Go to the Chrome Web Store by typing “chrome://extensions” in your Chrome browser’s address bar or by clicking on the three dots in the top right […]
Follow these simple steps to install your very own superhero sidekick for secure browsing:
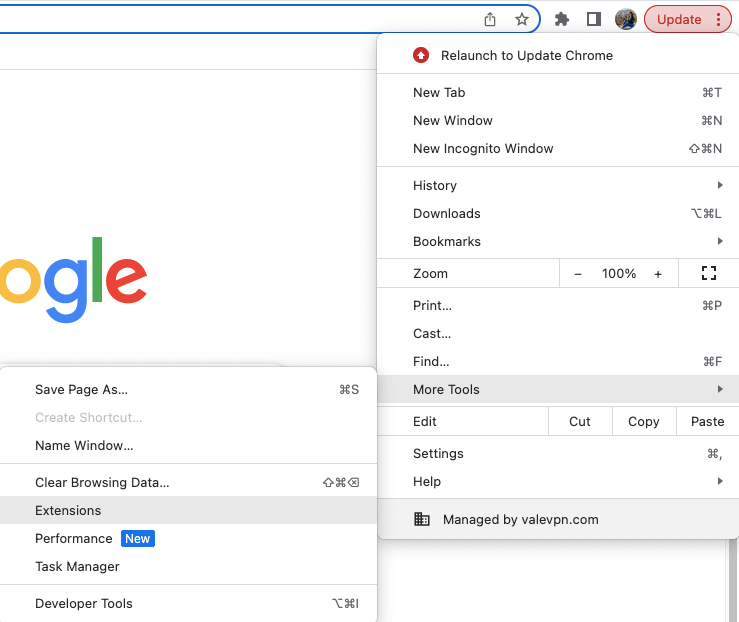
Step 1: Open the Chrome Web Store
Go to the Chrome Web Store by typing "chrome://extensions" in your Chrome browser's address bar
or by clicking on the three dots in the top right corner, selecting "More Tools," and then "Extensions."
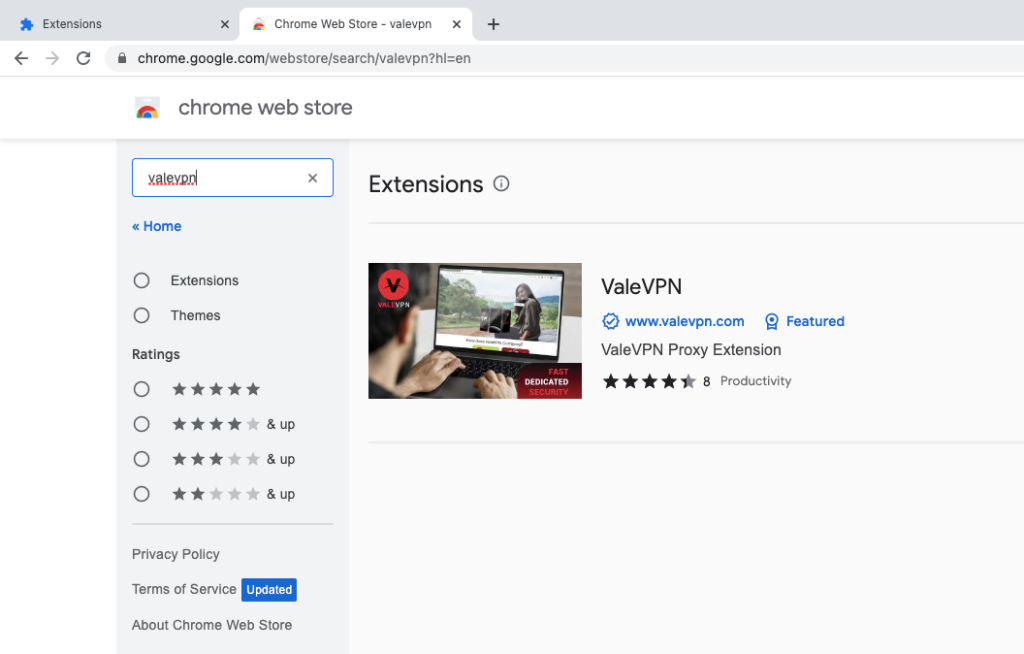
Step 2: Search for ValeVPN Proxy
In the search bar of the Chrome Web Store, type "ValeVPN Proxy" and hit enter. Look for the ValeVPN Proxy extension and click on it.
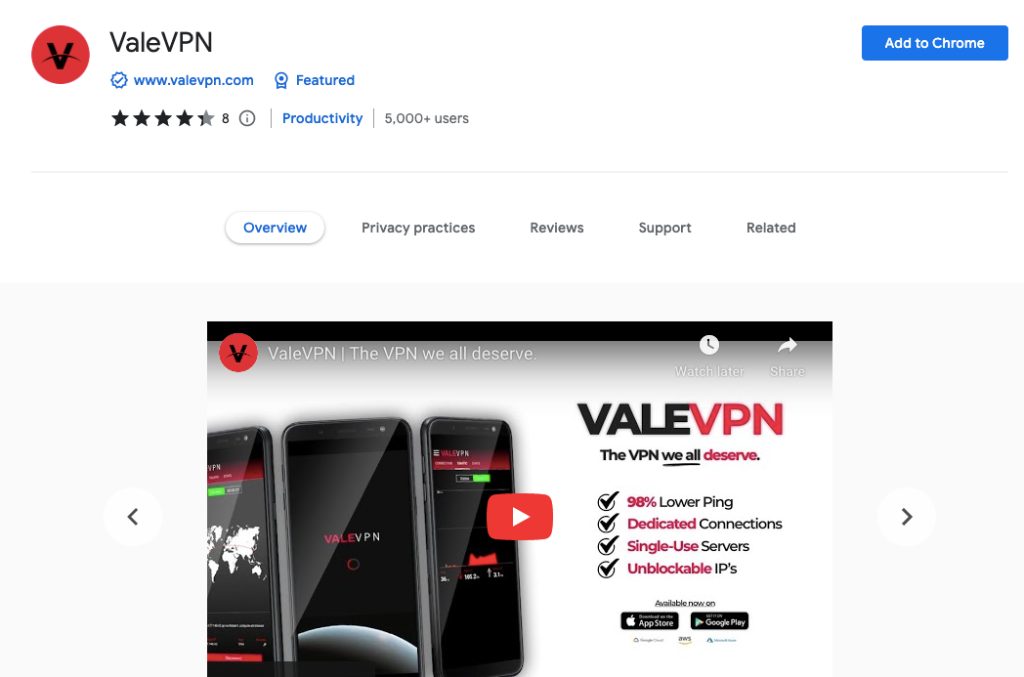
Step 3: Add to Chrome
Once you've landed on the ValeVPN Proxy extension page, click on the "Add to Chrome" button. A confirmation dialog will appear.
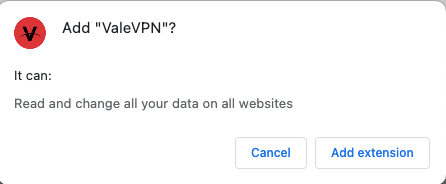
Step 4: Confirm Installation
In the confirmation dialog, click "Add Extension" to proceed with the installation. Chrome will start downloading and installing the extension.
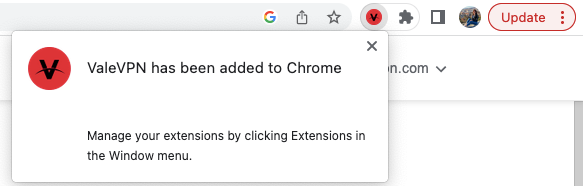
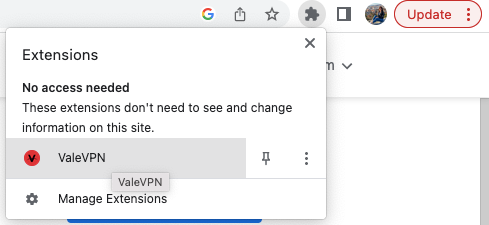
Step 5: Activate ValeVPN Proxy
Once the installation is complete, you'll notice the ValeVPN Proxy icon in the top right corner of your Chrome browser. Click on the icon to open the extension.
Remember, the ValeVPN Proxy for Chrome acts as your virtual bodyguard, encrypting your online activities and shielding you from potential threats. Feel free to explore the internet, access geo-blocked content, and shop securely, knowing that your data is safe and sound.
So, what are you waiting for? Install the FREE ValeVPN Proxy for Chrome today and join the league of secure internet superheroes!